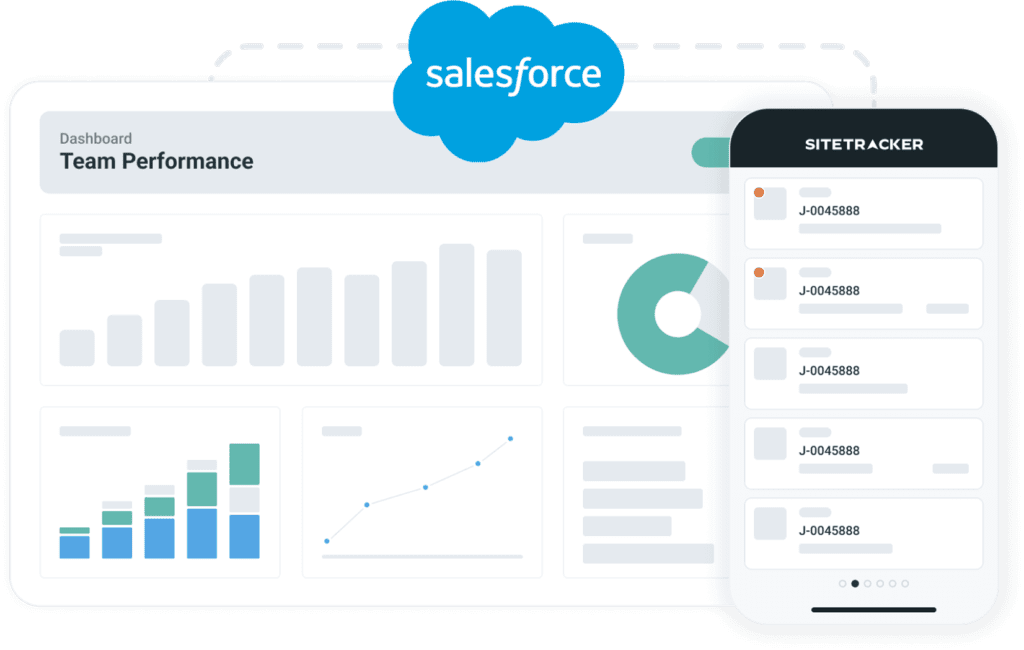
Why Marketing Cloud personalisation
Marketing cloud personalisation helps you understand each prospect by building a customer profile from different data sources. After a customer profile is built, engage with customers immediately. You can decide how to interact with them on the channel they use.
Different channels and campaigns in marketing cloud personalisation
- Web
- Server-Side
- Triggered
- Mobile
- Third-party
Let’s see how we can create a web campaign in Salesforce Marketing Cloud Personalisation.
Prerequisites for creating a web campaign
- Web template
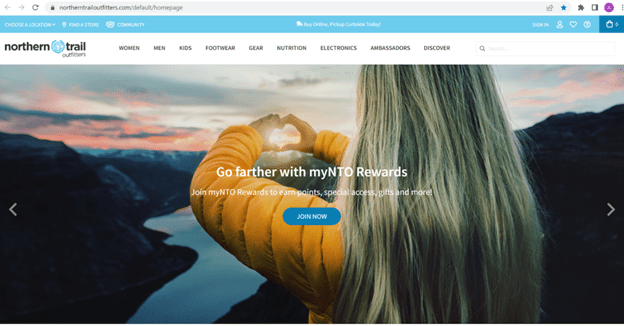
- Content Zone: Content Zones are used to designate areas of a page that are potential targets for rendering personalised content from customer engagement campaigns, with each content zone targeting a single zone. Here we will be using the NTO website homepage as a content zone.
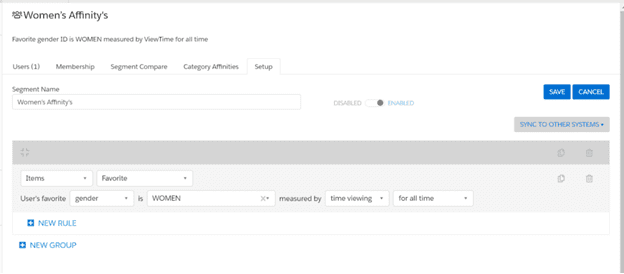
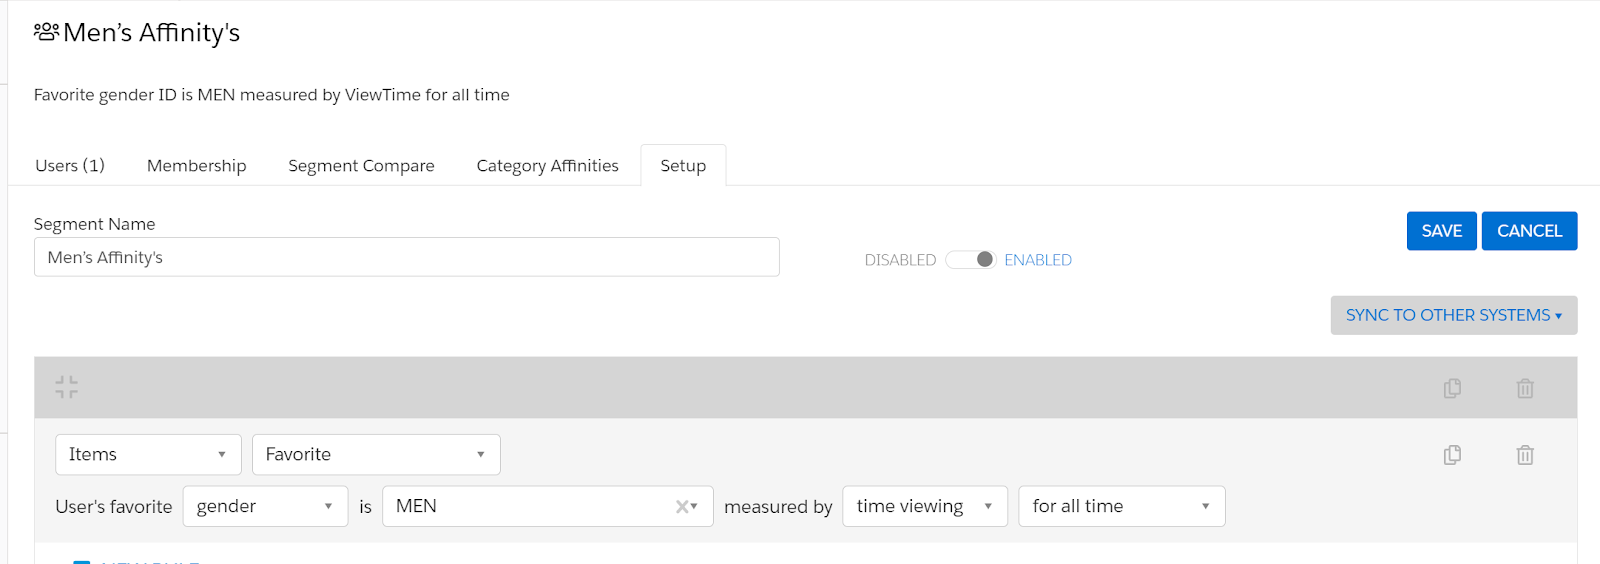
- Segment: To which segment of people are you going to apply the campaign? Here we are going with segments based on gender.
- Before creating the web campaign, you need to define your content zone using Sitemap in the Visual Editor.
Campaign creation
The goal of the campaign is to personalise the homepage hero banner according to gender. If they are male, on the home page they will be shown an image related to men and a CTA redirecting to the men’s category page, and if they are female, on the homepage they will be shown an image related to women and a CTA redirecting to the women’s category page.
- Navigate to the Visual Editor Hexagon > Templates > View List > Global Templates Tab
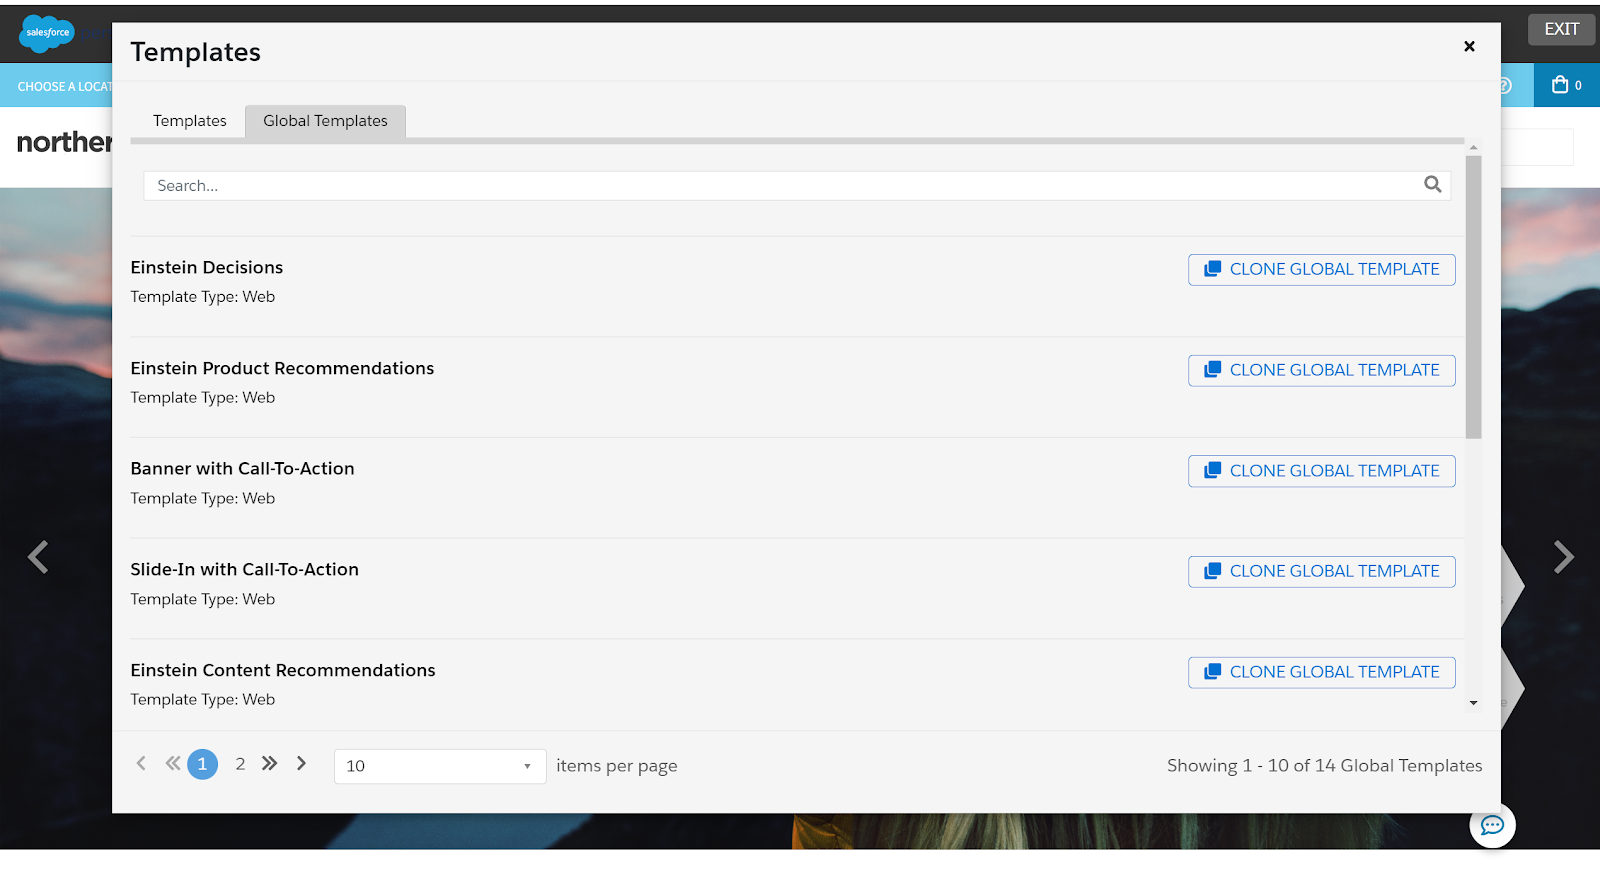
- Based on the requirements of the web campaign, select the global template. Right now, select the banner with the call-to-action global template.
After Selecting the Global template, it will show the below screen
- Select the content zone and personalised image you want, and the header, subheader, CTA text, and CTA destination URL as below.
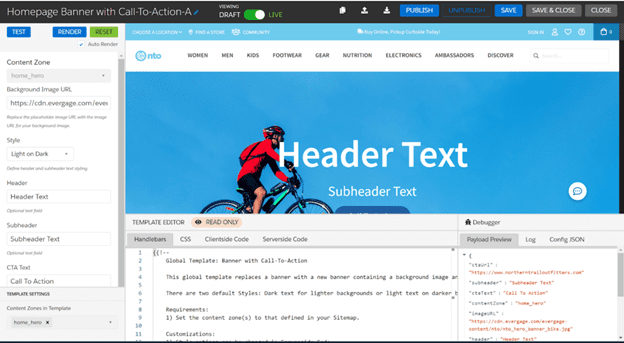
- Save and publish the template.
- The next step is to create segments. Create two segments, as below
- Now we can go with the campaign creation.
- Visual Editor Hexagon > Campaign > View List
It will show the image below
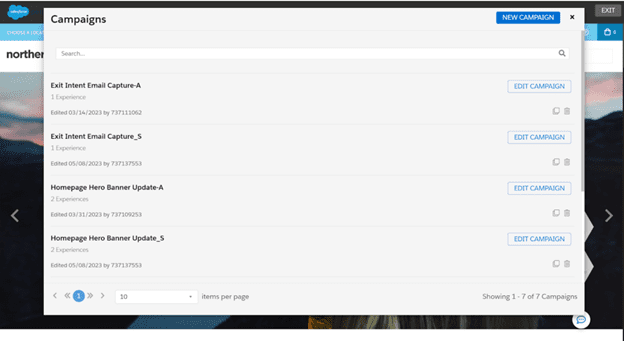
- Click on New Campaign.
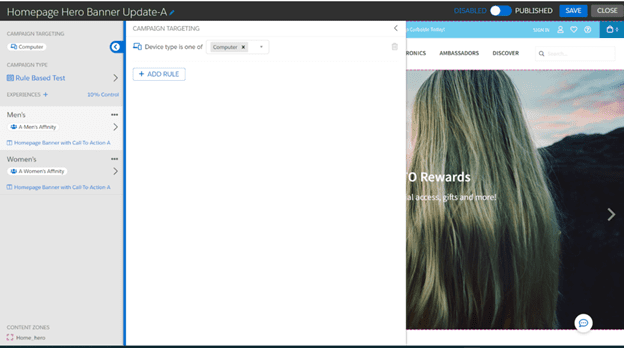
- As you can see in the image, we have campaign targeting, which means this rule will apply to the overall campaign.
- We have added two experiences. There is one for affinity males and one for affinity females here.
- Affinity Male
- Affinity Female
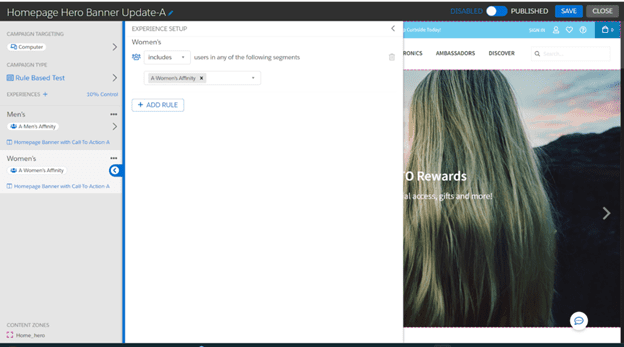
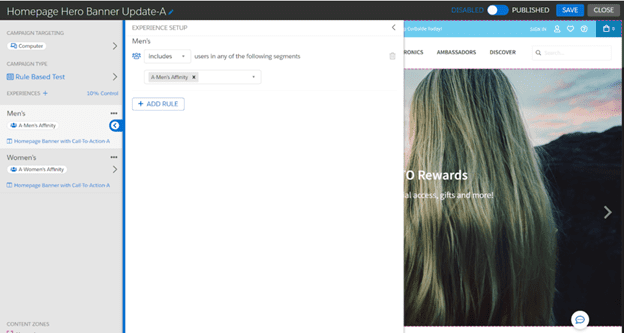
- We have added two segments: A-Men Affinity 1 segment, and the other is A-Women Affinity. Below each segment, you can see the template personalised for that particular segment of people.
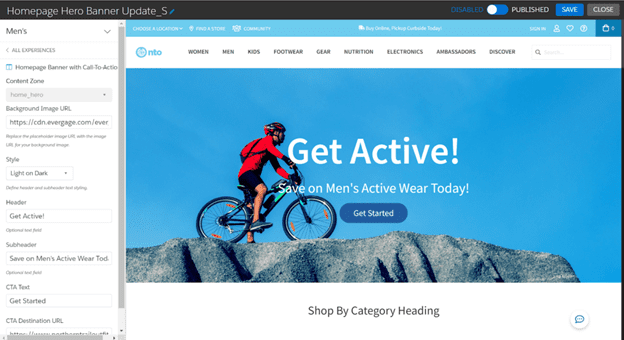
- For Men Affinity, the web template is:
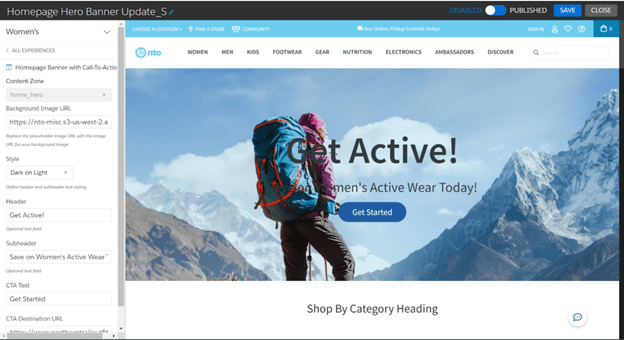
- For Women’s Affinity, the web template is:
- Save the campaign and publish it. That’s it. Campaign creation has been completed.
Also, you can send a particular segment of people to the marketing cloud and run campaigns in the journey builder, as shown below.
Connecting journey builder
- In MCP->User Segments, select the segment you want to send to Marketing Cloud.
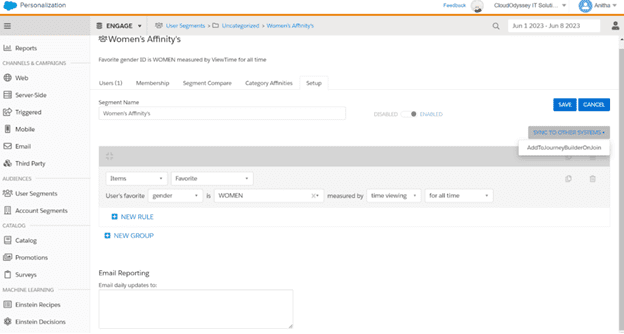
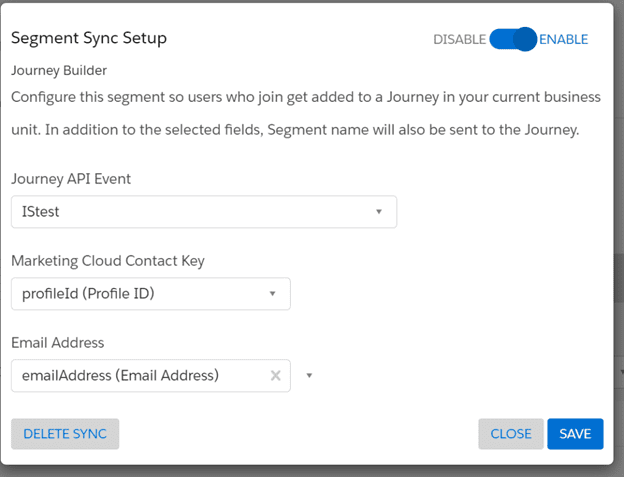
- Click on Sync to Other Systems and click on AddToJourneyBuilderOnJoin.
- You can see the below screen, and you need to select the API event, MC contact key, and email address and click save.
- You can use the MCP segment data to market cloud services and run journeys.
Conclusion
- Marketing cloud personalisation helps understand prospects and build customer profiles from various data sources.
- It enables immediate customer engagement on their preferred channels.
- Different channels and campaigns in marketing cloud personalisation include web, server-side, triggered, mobile, email, and third-party.
- Creating a web campaign requires prerequisites such as a web template, content zone, and segments.
- The goal of a web campaign can be personalised content based on gender, targeting specific images and CTAs.
- The Visual Editor Hexagon is used to select global templates, define content zones, and personalise the campaign.
- Segments are created based on affinity, such as affinity male and affinity female.
- Each segment is associated with a personalised web template.
- The campaign is saved, published, and can be sent to Marketing Cloud for running campaigns in the Journey Builder.
- Connecting Journey Builder allows for syncing MCP segments, selecting API events, the MC contact key, and adding addresses for campaign automation.
- MCP segment data can be utilised in the marketing cloud to run customer journeys.