
In this article, we will demonstrate the integration between Salesforce and Slack using Mule 4. The primary purpose of this integration is to automatically get the new records from Salesforce Account object details based on the ‘first name’ given and send only the message first name from object details to the Slack channel.
Overview
- Introduction to MULE 4
- Demonstrating a Practical use case using SALESFORCE and SLACK
Introduction to Mule 4
Mule, offered by MuleSoft, serves as a lightweight enterprise service bus (ESB) and integration framework. Operating on a Java-based platform, however, it can facilitate interactions between various platforms, including .NET, by utilizing web services or sockets. The architecture is designed to be scalable and distributable, serving as an object broker capable of managing interactions across legacy systems, in-house applications, and a wide range of modern transports and protocols.
Let’s start by creating custom fields in Salesforce
- Login to your Salesforce Org using the Lightning Web Experience, and then proceed to create custom fields within the object’s fields. I have selected ‘Account’ as the object in Salesforce Workbench.
- After successfully creating the ‘Account’ object field, you can search for ‘Accounts’ in the App Launcher. From there, you can begin the process of creating custom fields.
- We have created the following custom fields:
- First Name (firstname__c)
- Last Name (lastname__c)
- PAN Number (PAN_number__c)
- Phone Number (Phone_Number__c)
Practical use case
In the next section of the blog, we will explore how to integrate Salesforce and Slack.
Salesforce: Salesforce is a cloud-based software corporation that equips businesses with tools to identify additional prospects, finalise more deals, and deliver an elevated standard of service to their clientele.
Slack: Slack is a messaging app which is almost ubiquitous in workplaces
Goal
- Sending newly inserted data in Salesforce triggers a flow whenever a new object is added.
- Subsequently, a query is established in Workbench and integrated into Anypoint Studio.
- A custom channel is created, and the Name is mapped within the implementation.
- Messages are sent based on the mapping of the channel.
Let’s integrate
- Log in to Anypoint Studio and create a new project.
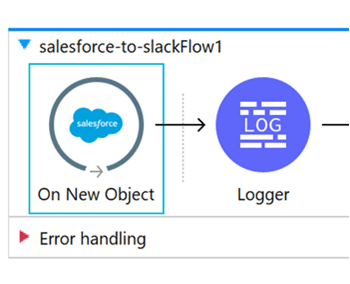
- If the Salesforce module is not available in the studio, add it from Exchange. Then, drag and drop the ‘Salesforce On New Object’ into the canvas.
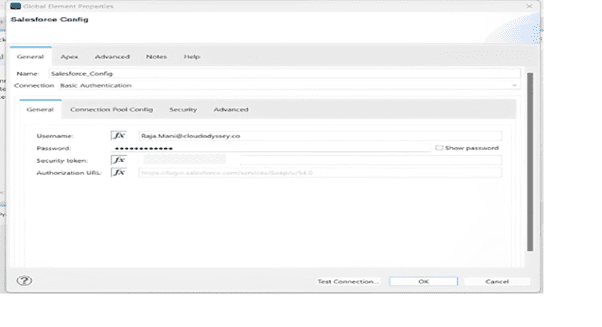
- Provide the configurations for Salesforce login: username, password, and security token. To reset the security token, navigate to your Salesforce account, then go to Profile > Settings > My Personal Information > Reset My Security Token.”
- After completing the configurations, click on “Test Connection” to ensure that the connection is successful.
- 5. Select the object type as “Account.”
- 6. Add a logger and set the message as “Start flow.”
- 7. Select a Salesforce Query connector, configure it, write a SOQL query in Workbench with the required fields, and then copy the same query to Anypoint Studio.
Query: Retrieve information from the Account object.
- Fields to Retrieve:
- firstname__c
- Id
- lastname__c
- PAN_Number__c
- Phone_Number__c
Order: Order the results by CreatedDate in descending order.
Limit: Limit the results to 1 record.
Here is the complete query:
“SELECT firstname__c, Id, lastname__c, PAN_Number__c, Phone_Number__c
FROM Account
ORDER BY CreatedDate DESC
LIMIT 1″
The query above serves as my reference. By setting ‘desc’ and a ‘limit’ of 1, it ensures the retrieval of a maximum of one value. The ‘firstname__c’ value is obtained through ordering by ‘CreatedDate’ in descending order.

- Add a “Transform Message” component to the flow and set a message indicating that a new record has been inserted. Concatenate the payload[0].firstname__c value to create the message to be sent to your Slack channel as a string.

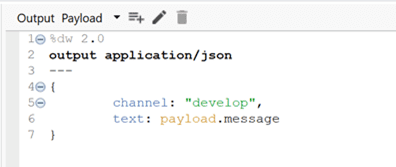
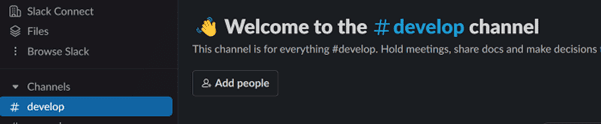
- Add another “Transform Message” component where you’ve configured the JSON payload as described below: Set your Slack channel name as “develop” and assign the value of “payload.message” to the “text” key.
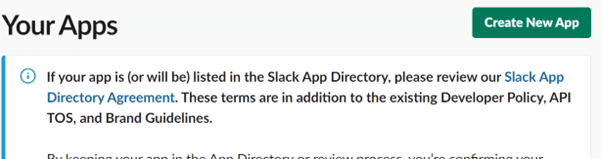
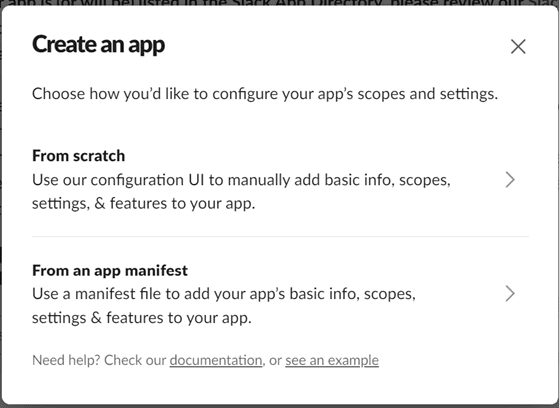
- Before sending a message to Slack from MuleSoft, it’s necessary to create a Slack App. To begin, go to https://api.slack.com and select “Create App.”
- In the next screen, click on “From an app manifest.”
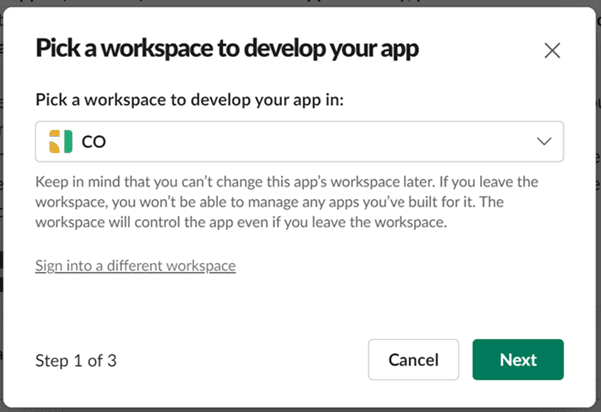
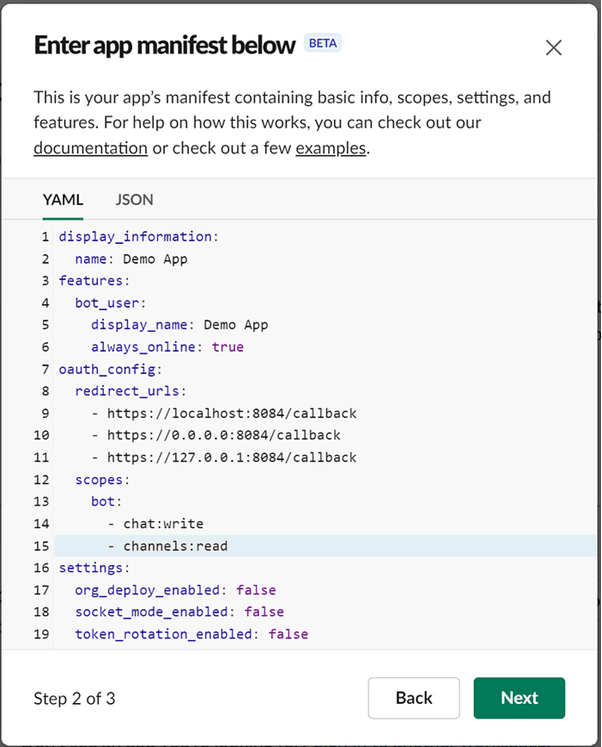
- Choose the workspace where you wish to publish the app, then click on “Next.” In the subsequent step, replace the default app manifest with the provided YAML code. The final YAML code should resemble the screenshot below before proceeding to click on “Next.”
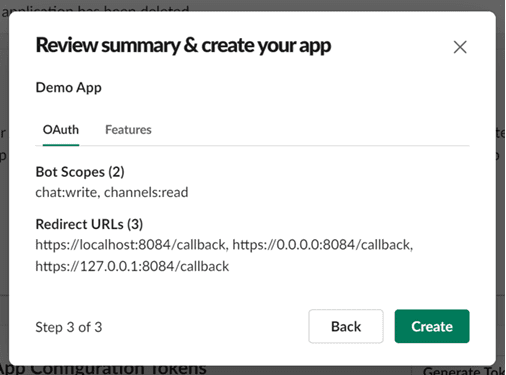
- In the final step, click on “Create”
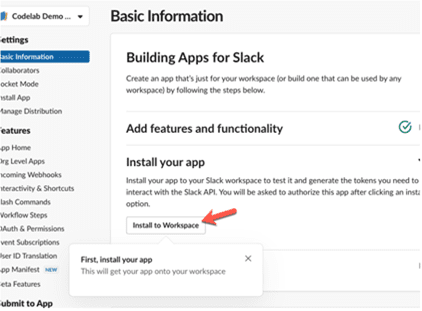
- Prior to utilizing the Slack App, it needs to be installed within a workspace. Click on “Install to Workspace.”
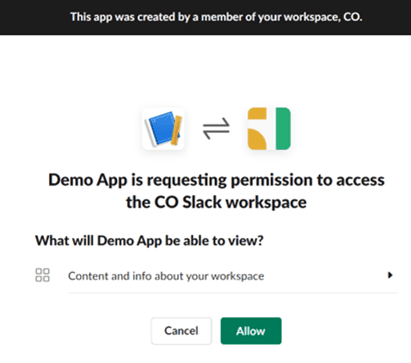
- Choose a channel that the app can post to by default, and then click on “Allow.”
- 16. After completing the installation, you will be directed back to the Basic Information section of your newly created app. In the App Credentials section, you should copy the Client ID and Client Secret. These credentials will be necessary for configuring the Slack Connector within Studio at a later stage.

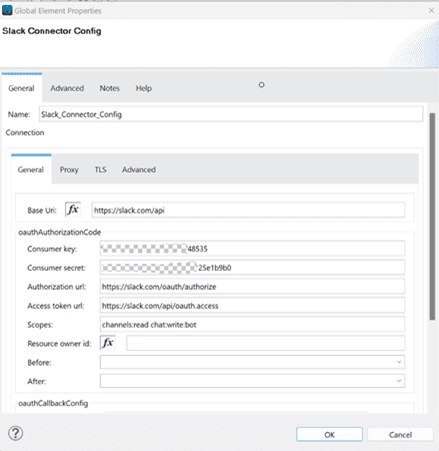
- 17. Choose the “Slack Send Message” component from the Mule palette and proceed to configure the following parameters: consumer key, consumer secret, authorization URL, access token URL, and scopes.
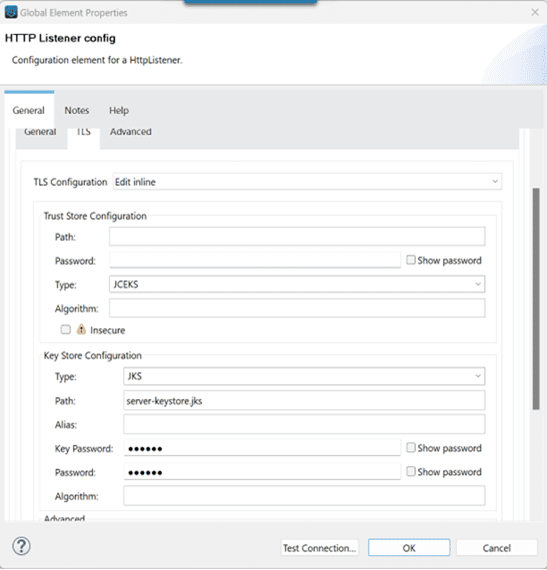
- 18. Afterward, scroll down and proceed to configure the HTTP listener while performing TLS configuration. I have directly attached the screenshot below for your reference.
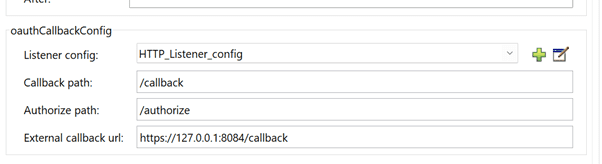
- Continuing further, scroll down to locate the oauthCallbackConfig section. Fill in the Callback path and Authorise path: fields to match the configuration displayed in the screenshot provided below.
- Afterward, click on “OK” to close the screen. Now, add another “Transform Message” component where you simply pass the payload through. Finally, add an “End Logger” component to conclude the process.
- Once you’ve completed the configurations, deploy the project on your local server. Then, you’ll need to authorise OAuth in your browser. Here’s the process:
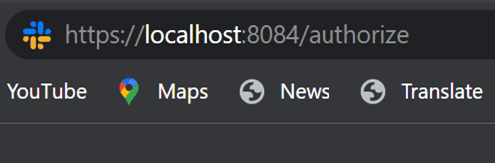
[a]Copy the following URL and paste it into your local browser’s address bar: https://localhost:8084/authorize.
This step initiates the OAuth authorization process on your local server.
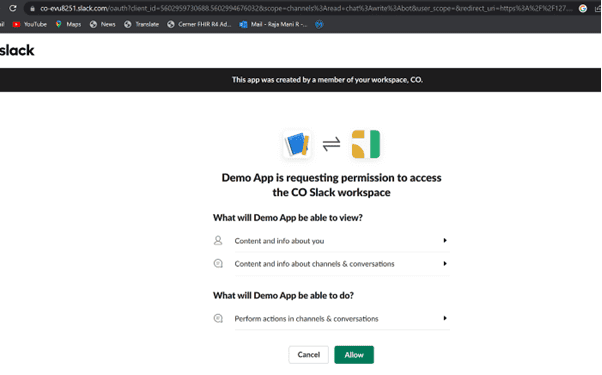
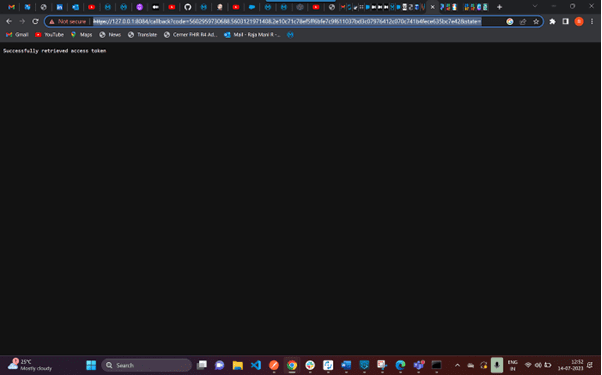
[b] Allow permission to access the Slack workspace by following the prompts and granting the necessary permissions.
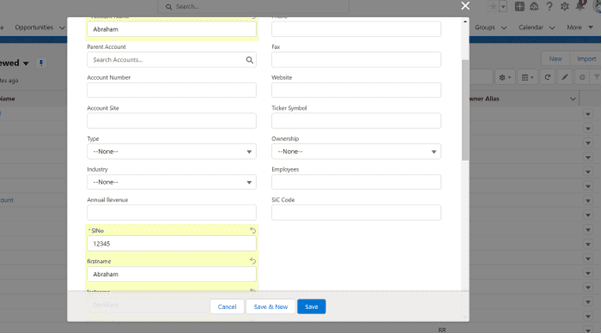
- Navigate to the Salesforce Org and insert a new record into the Account object.
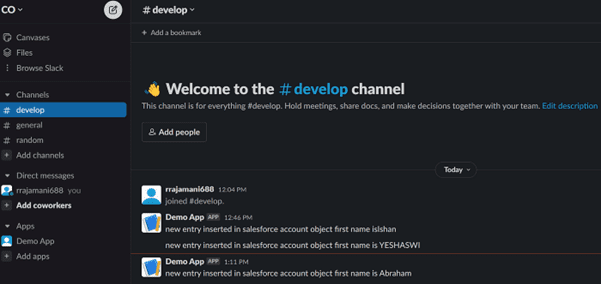
- 22. You should now be able to see that the message has been successfully inserted into the Slack channel, with the content derived from the firstname__c field.
Conclusion:
- We have successfully implemented Salesforce-Slack integration. We initiated the process by creating a new app on slack.com and acquiring the necessary credentials, which we then utilised for configuring the Slack connector within Anypoint Studio.
- As a result of this integration, any newly inserted record within the Salesforce Org will be automatically mirrored in the designated Slack channel.
Your feedback is valuable to us as it aids in enhancing our content. We appreciate you taking the time to read this article! If you found the information helpful, please give it a ‘clap’ and consider following us for more insightful articles in the future.
Thank you!
“SELECT firstname__c, Id, lastname__c, PAN_Number__c, Phone_Number__c
FROM Account
ORDER BY CreatedDate DESC
LIMIT 1″