
In continuation of our previous blog post on How to Connect Slack Workspace to Salesforce Commerce Cloud Business Manager, let’s see how to generate notifications programmatically and subsequently push those notifications to Slack channels.
B2C Commerce script package – dw.alert
Notifications can be generated programmatically for certain events using the dw.alert package. A few such events are given below.
- When a mandatory custom preference value is missing,
- If the source file was not found in the remote location during a data import job,
- When a web service health check failed, etc.
Notifications can be generated only in the context of the business manager and not in the context of the storefront. This is because of the quota limit “System Notification Messages Read Only (Storefront).”
How to get started?
We at Cloud Odyssey developed a simple cartridge to help you understand how to generate notifications programmatically. This cartridge generates the below notifications.
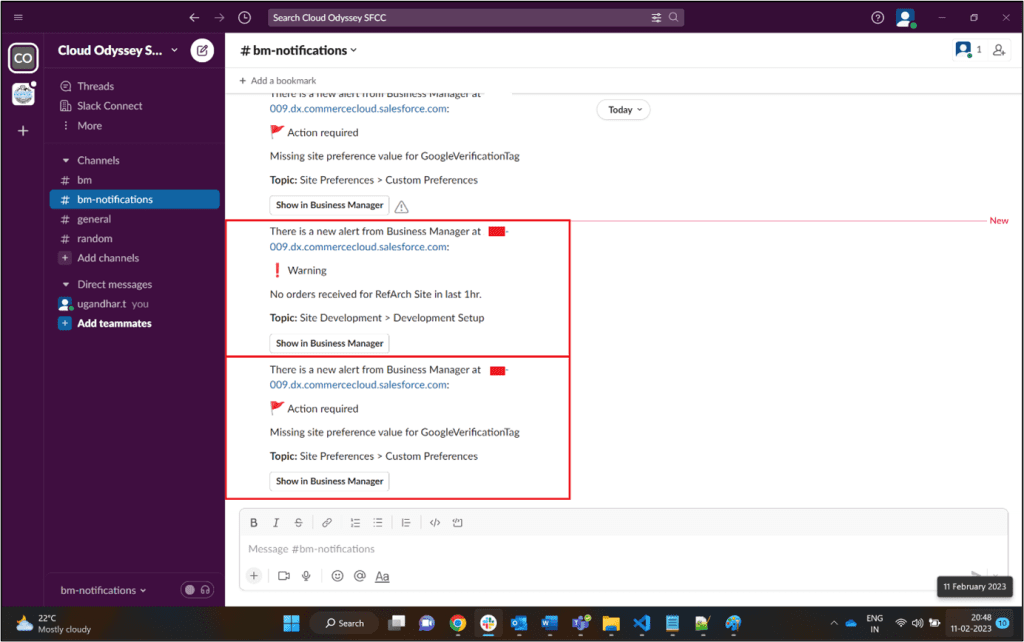
- ACTION notification when a mandatory custom preference is missing.
- WARNING notification when no orders have been placed on the website for the last hour
How to install the cartridge (bm_alerts)?
Follow the steps below to install the bm_alerts cartridge in your environment.
1. Download the cartridge attached, unzip it, add it to your workspace, and upload it to your active code version directory.
2. You might have noticed by this time that bm_alerts is a Business Manager extension cartridge. So, add the cartridge to your Business Manager cartridge path.
To do this, go to Administration > Sites > Manage Sites > Business Manager > Settings, add the bm_alerts cartridge to the cartridge path, and click Apply.

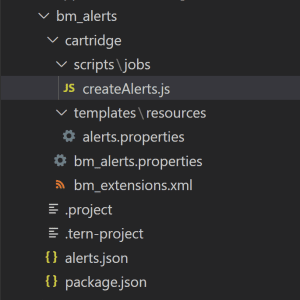
3. Let’s see the content inside the cartridge in brief.
createAlerts.js – Job step(s) to generate notifications programmatically. Remember, notifications can only be generated in the context of a business manager.
alerts.properties – Messages that should appear in notifications.
alerts.json, where alerts are registered.
package.json, where the alerts.json path must be registered.
Click here to learn more.
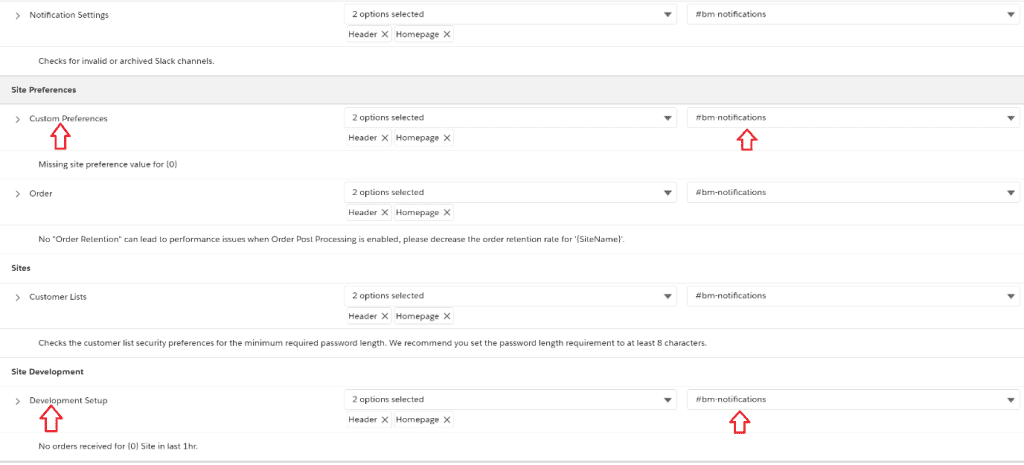
4. Go to Administration > Operations > Notification Settings. On this page, you will see two new events that are registered in the alerts.json.
- Site Preferences > Custom Preferences
- Site Development > Development Setup
Select Slack channels for these two events where you would like to push notifications.
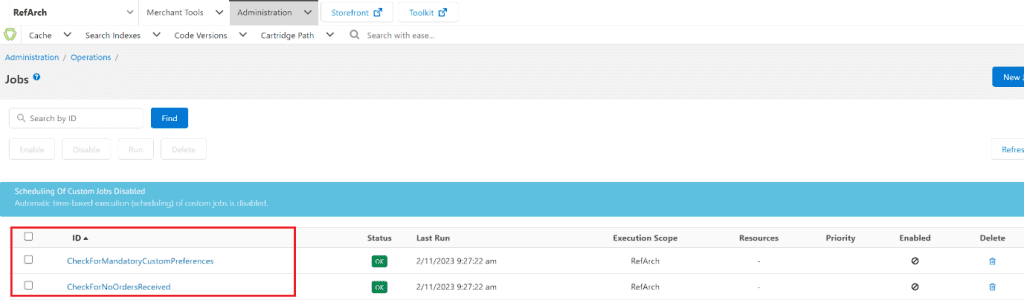
5. Go to Administration > Operations > Import & Export and import the bm_alerts/metadata/jobs.xml file. This will create two jobs for your business manager.
- CheckForMandatoryCustomPreferences: Checks if the mandatory custom preference GoogleVerificationTag has any value populated; otherwise, a notification will be raised.
- CheckForNoOrdersReceived: Checks if there are any orders received in the last 1 hour and raises a notification if not.
6. If you have followed the above steps successfully, you will start seeing notifications in Slack channels when you run the above-mentioned jobs.
We hope this blog gave you some insight on how to generate notifications programmatically.
Now it’s your turn to add notifications to your projects according to your business requirements.